Have you ever wished for long, luscious locks but didn’t want to wait for your hair to grow? Hair extensions can be a game-changer, giving you the instant length and volume you desire. While many opt for professional installation, the do-it-yourself (DIY) approach can be a cost-effective and convenient alternative. In this complete guide, we will walk you through the process of installing hair extensions at home, step by step.
Why Choose DIY Hair Extensions Installation?
DIY hair extension installation has several advantages:
- Cost-Effective: Professional salon installations can be quite expensive. Doing it yourself saves money.
- Convenience: You can install hair extensions at your own pace and in the comfort of your home.
- Customization: You have control over the type, color, and placement of the extensions.
- Less Damage: Improper salon installations can damage your natural hair. DIY allows you to be more careful.
- Reusable: When you install your extensions correctly, they can be removed and reused, extending their lifespan.
Now, let’s get started with the step-by-step guide:
Step 1: Gather Your Supplies
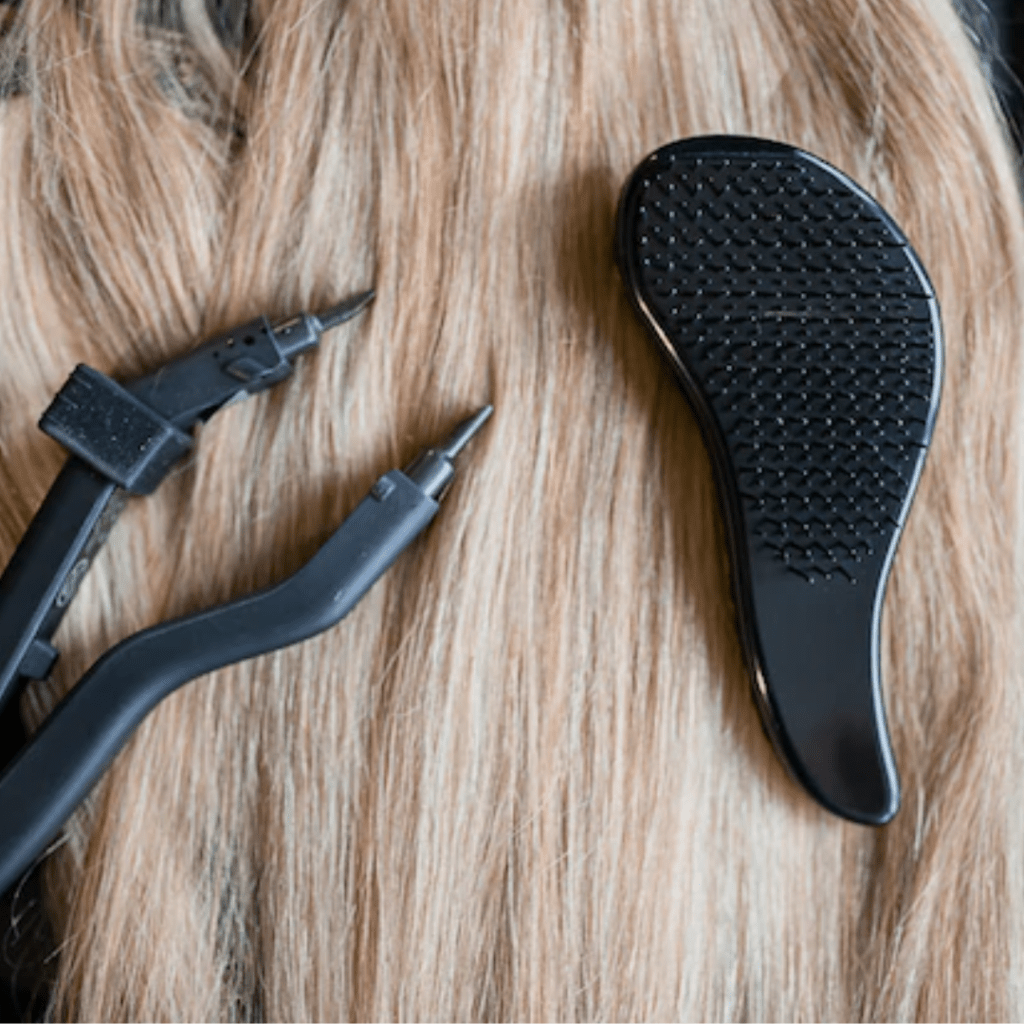
Before you begin, make sure you have all the necessary supplies ready. Here’s what you’ll need:
- Hair Extensions: Choose extensions that match your hair texture, color, and length. You can opt for clip-in, tape-in, sew-in, or fusion extensions.
- Clips and Combs: You’ll need these to section your hair and keep it in place.
- Heat Protector: If you plan to use heat styling tools, a heat protector is essential to shield your extensions from damage.
- Curling or Straightening Iron: Depending on your desired style, you might need one or both of these tools.
- Hair Ties: These will help keep your natural hair out of the way as you work with the extensions.
- Hair Spray: A good hairspray will help secure your extensions and natural hair in place.
- Mirror: Make sure you have a well-lit mirror to see what you’re doing clearly.
Step 2: Prepare Your Hair
Start with clean and dry hair. It ensures that your extensions will adhere or blend well. If your hair is currently washed, wait until it’s scorched before beginning. If needed, you can use a light texturizing spray for better grip.
Step 3: Section Your Hair
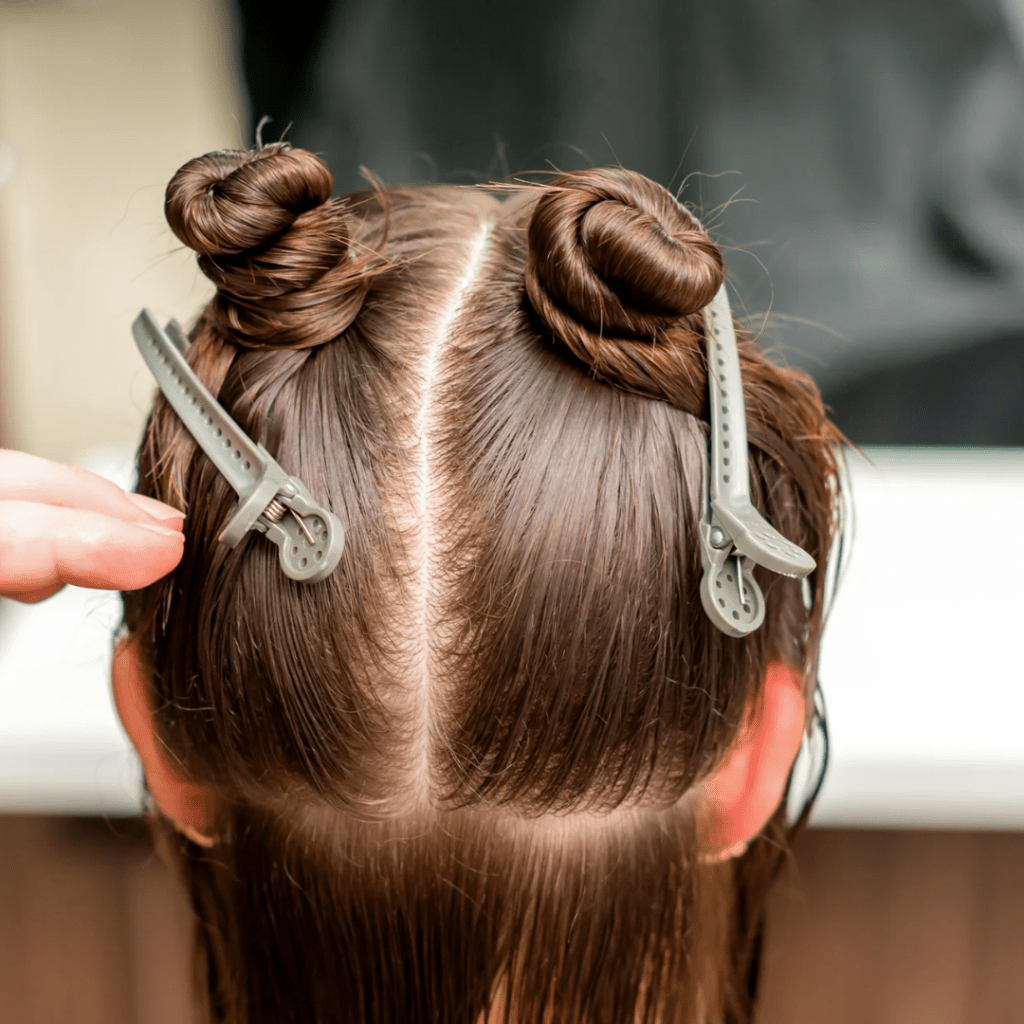
Divide your hair into manageable parts using clips and combs. Start at the nape of your neck and work your way up. Clip the rest of your hair out of the way so that you can focus on one section at a time.
Step 4: Install Clip-In Extensions
If you’re using clip-in extensions, follow these steps:
- Open the clips on the extension pieces.
- Start with the lowest section of hair near your nape. Backcomb this section slightly to create a secure base for the clips.
- Attach the extension by snapping the clips onto the backcombed hair. Make sure they’re securely in place.
- Repeat the process, working your way up in sections until all the clip-ins are installed.
- Blend your natural hair with the extensions by gently brushing and styling.
Step 5: Install Tape-In Extensions
For tape-in extensions, the process is a bit different:
- Create a part where you want to install the tape-in extension.
- Take a small section of your hair and sandwich it between two tape-in extension wefts. Make sure they are positioned close to the roots.
- Press the wefts together, bonding your hair between them.
- Repeat this process, section by section, until all your extensions are installed.
- Style your hair as desired.
Step 6: Install Sew-In Extensions
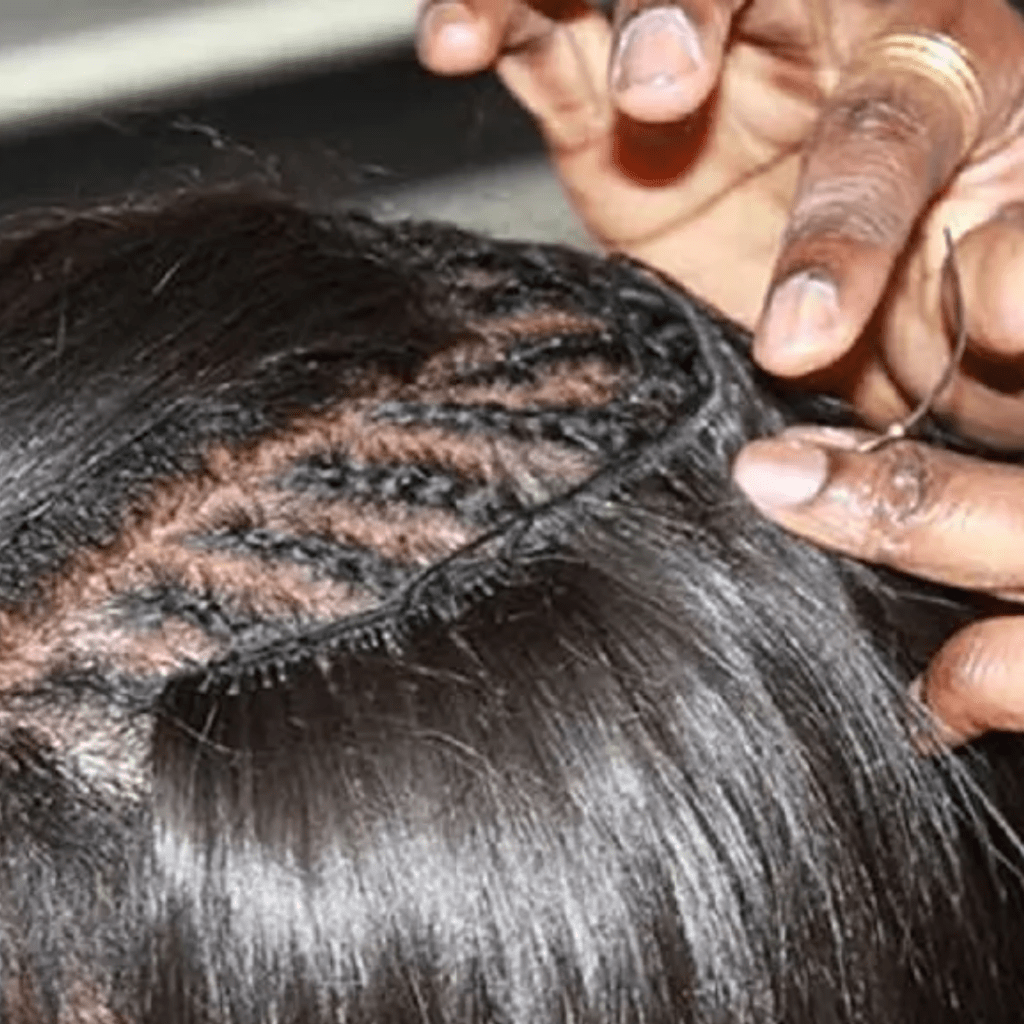
Sew-in extensions require more time and precision:
- Create horizontal partings where you want to install the extensions.
- Braid your natural hair into cornrows along these partings.
- Thread a curved needle with hair extension weft thread, then sew the weft onto the cornrow. Make sure it’s secure.
- Continue this process, sewing the wefts onto each cornrow.
- Style your hair as needed, ensuring that the wefts are well concealed.
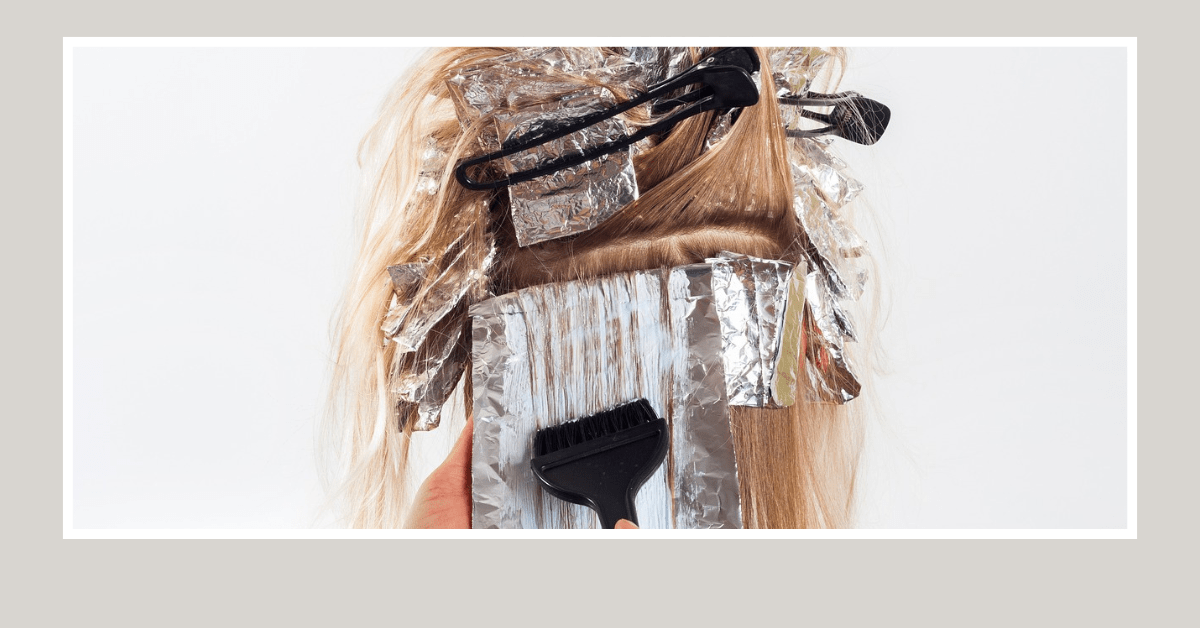
Step 7: Install Fusion Extensions
Fusion extensions require professional-level skills, but if you’re confident, here’s a simplified version:
- Create a part where you want to install the fusion extension.
- Take a small section of your hair and place it between the fusion extension and a heat protector shield.
- Use a fusion iron to heat the bond, fusing your hair with the extension.
- Repeat this process, section by section.
- Style your hair while being cautious of the bonded areas.
Step 8: Blend and Style
Regardless of the extension type you choose, it’s essential to blend your natural hair with the extensions. Use a curling or straightening iron to achieve your desired look. Apply hairspray to hold the style and make sure everything stays in place.
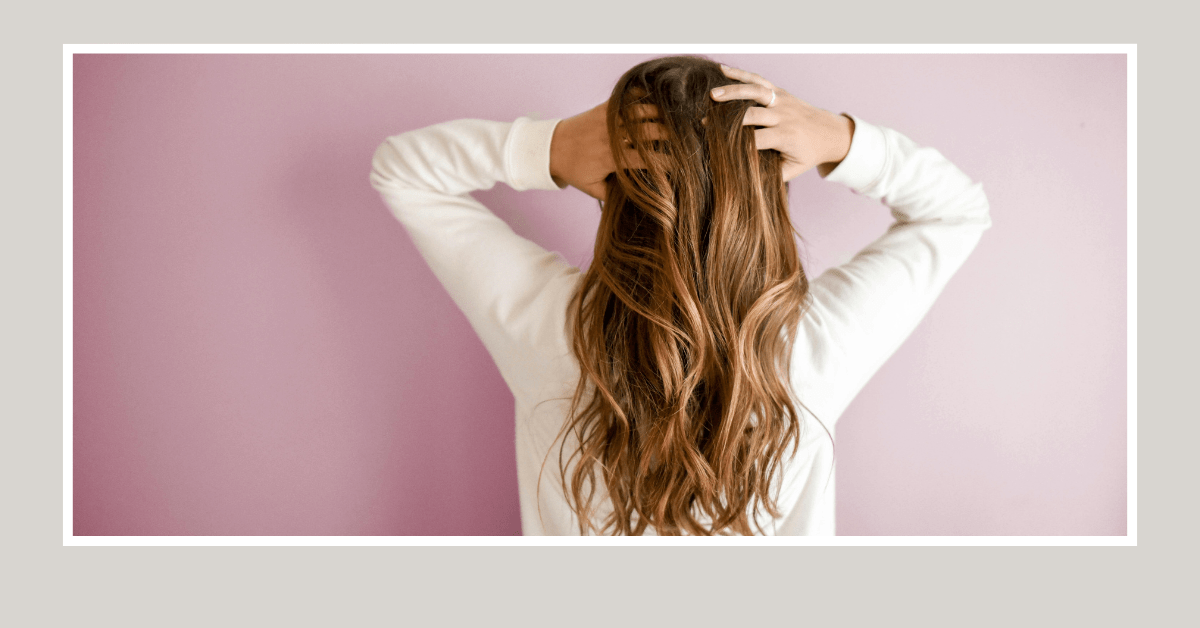
Step 9: Finishing Touches

To complete your DIY hair extension installation, do the following:
- Carefully inspect your work in a well-lit area to ensure all extensions are securely in place.
- Trim and layer the extensions to match your natural hair’s length and style.
- Consider applying a light shine serum to add a healthy sheen to your hair.
- Take some photos and enjoy your stunning new look!
Maintenance and Removal
Now that your extensions are in place, you’ll want to maintain them and, eventually, remove them. Here are some tips:
- Maintenance: Brush your extensions daily to prevent tangling, and use a mild sulfate-free shampoo. Be cautious with heat-styling tools to avoid damaging the bonds.
- Removal: To remove clip-in extensions, unclip them and gently pull them out. For tape-ins, use a specific remover to loosen the adhesive. For sew-in and fusion extensions, it’s advisable to seek professional help for removal.
- Remember that proper care will extend the lifespan of your extensions, allowing you to use them multiple times.
Conclusion
DIY hair extension installation empowers you to achieve the long, luxurious locks you’ve always desired cost-effectively and conveniently. Following these step-by-step instructions and caring for your extensions, you can confidently rock your new look and embrace your hair’s full potential. So remember, consult with a professional hair stylist and embrace your beauty with your natural hair.