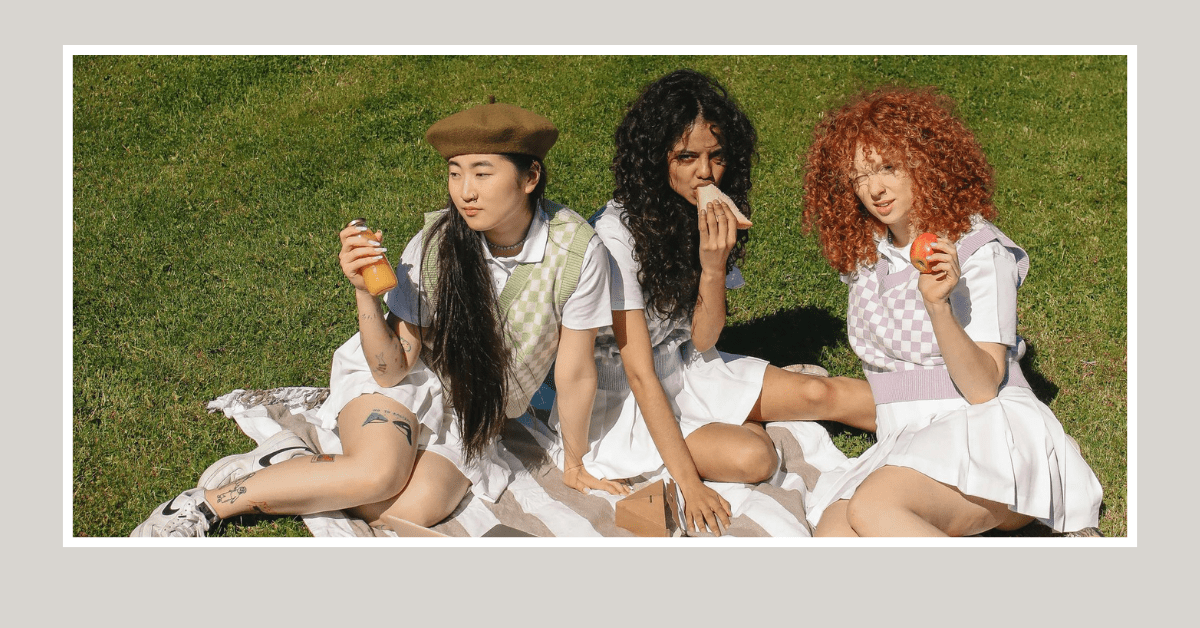
Hair extensions are a game-changer for those who crave luscious locks. They add volume and length and open up a world of hair styling possibilities. But extensions are about more than just Rapunzel-esque hair. With a bit of creativity, you can craft stunning and unique styles that go beyond the ordinary.
This blog is your guide to unlocking the potential of your extensions and rocking some seriously eye-catching DIY hairstyles. We’ll delve into various techniques, explore trendy looks, and provide step-by-step instructions to make you a hair extension pro.
Getting Started: Essential Tips for Extension Magic
Before we dive into the fun stuff, let’s establish a solid foundation. Here are some key pointers to ensure your extension DIY hairstyles stay flawless:
- Choose the right extensions: Clip-ins, tape-ins, sew-ins—the world of extensions is vast. Before selecting your extensions, consider factors like your hair type, desired style, and maintenance level.
- Prep your hair: Healthy hair is the canvas for unique styles. Deep condition your natural hair a day before styling to prevent breakage and ensure a smooth blend with the extensions.
- Match your hair color and texture: Aim for a seamless transition. If you’re unsure, consult a hairstylist for a perfect color match and extensions that mimic your natural hair texture.
- Brush and detangle: Treat your extensions with care! Gently brush them daily to prevent matting and maintain their shine.
Creative DIY Hairstyles to Unleash Your Inner Hair Goddess
Now, let’s get to the exciting part – the DIY hairstyles! We’ve curated a range of looks that cater to different tastes and skill levels:
The Effortless Halo Braid:
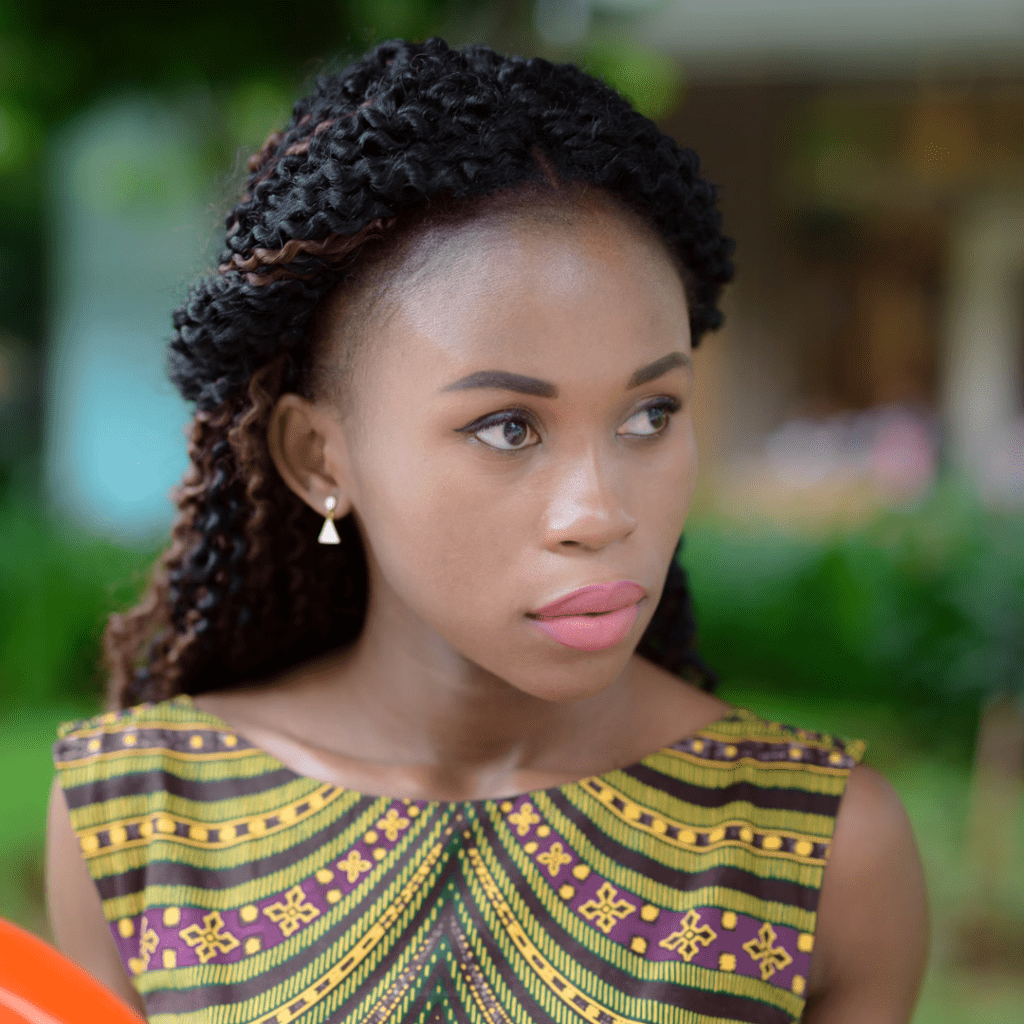
Ideal for: Casual outings, adding a touch of elegance to everyday looks.
Difficulty level: Easy
How to:
- Start by sectioning your hair horizontally from the crown of your head down to your ears. Clip the top section up.
- With the remaining hair, braid a dutch braid (french braid works too!) on one side, starting from the temple and working your way back.
- Repeat the braiding process on the other side.
- Once both braids are complete, bring them together at the back of your head and secure them with bobby pins.
- Gently loosen the braids for a more relaxed look.
- Unclip the top section of your hair and cascade it over the braids, allowing it to blend seamlessly.
- Finish with a light mist of hairspray for hold.
The Voluminous Ponytail with a Twist:
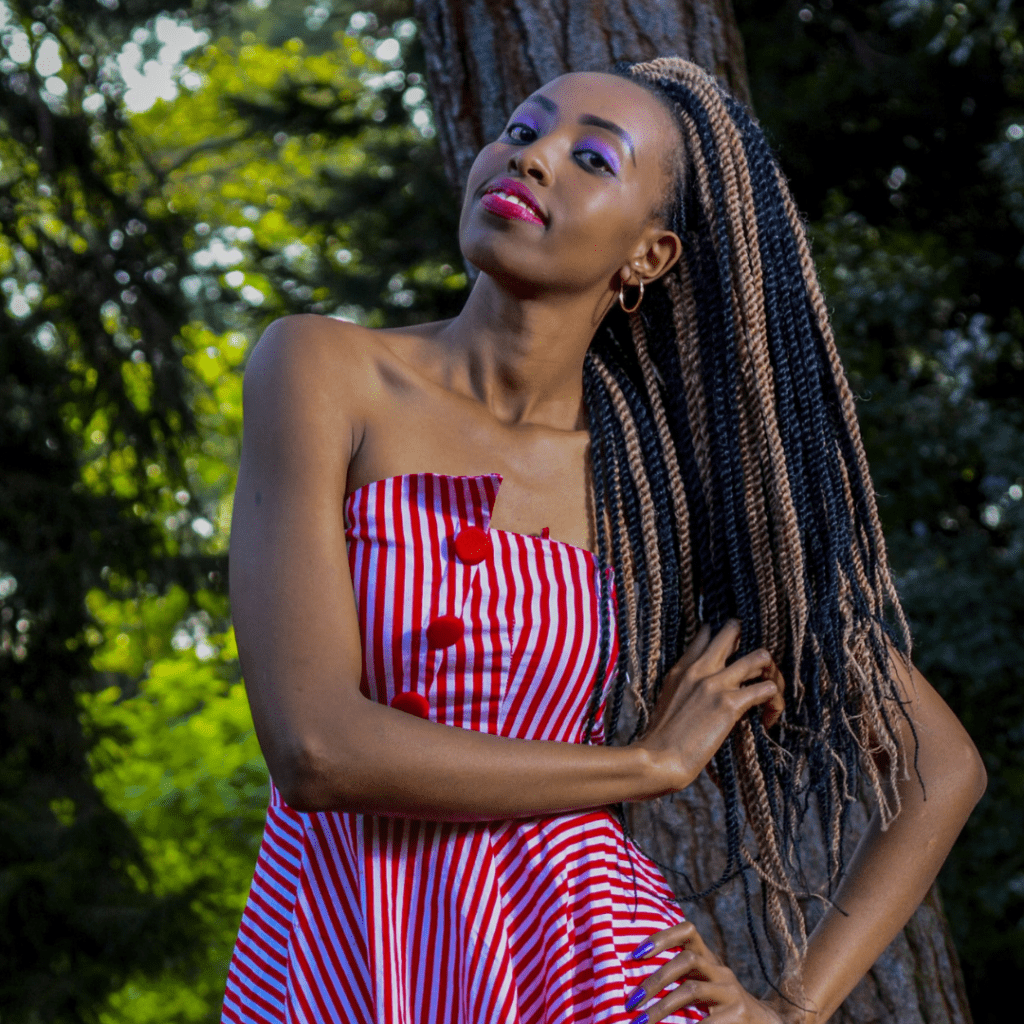
Ideal for: Work, brunch dates, adding instant volume.
Difficulty level: Easy-Medium
How to:
- Gather your hair into a high ponytail and secure it with a hair tie.
- Take a small section of hair from underneath the ponytail and wrap it around the hair tie to conceal it. Pin it in place.
- Clip in your extensions for added volume and length, ensuring they blend well with your natural hair at the ponytail base.
- For extra oomph, you can backcomb a small section of hair at the crown of your head before gathering it into the ponytail. This creates a voluminous and lifted effect.
- For a touch of detail, braid a small section of hair near the base of the ponytail and wrap it around the hair tie.
Some other Trendy DIY Hairstyles:
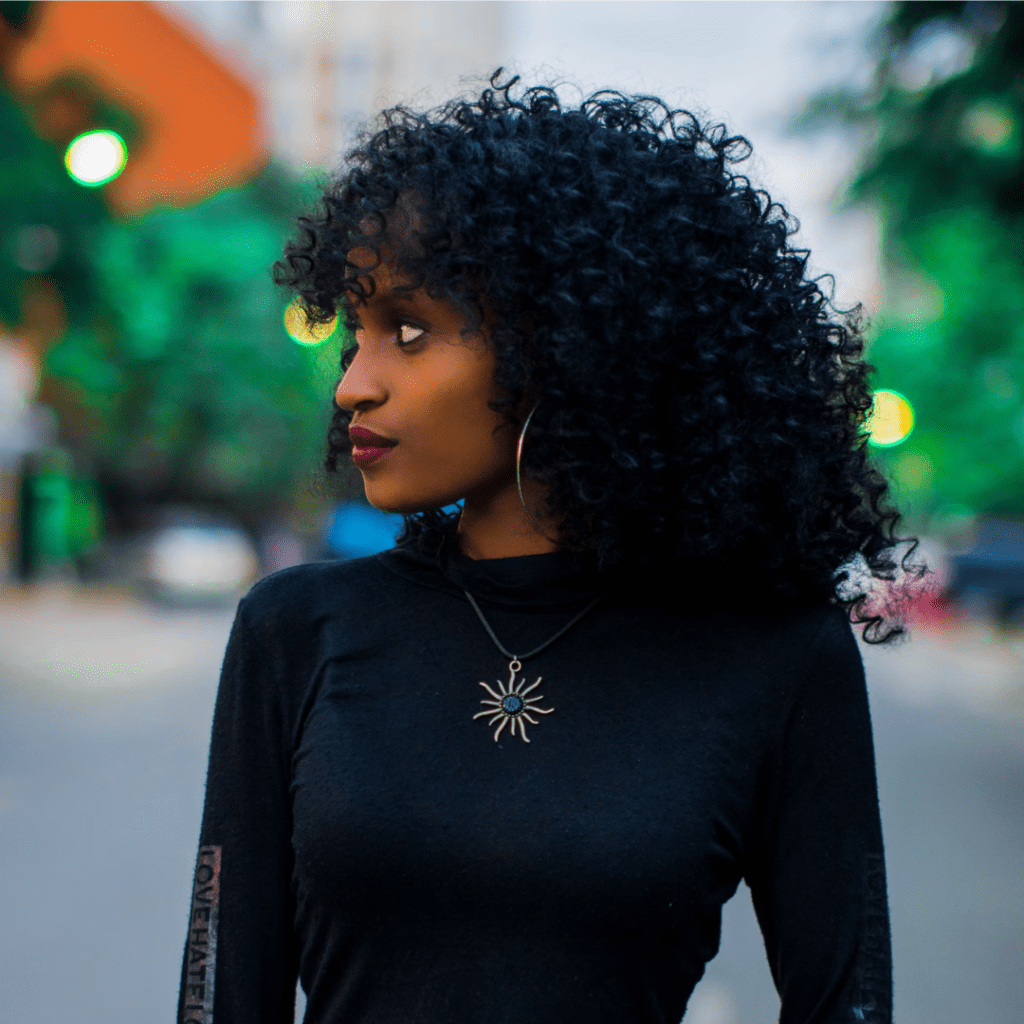
The Show-Stopping Waterfall Braid
Ideal for: Special occasions, dates, adding a romantic touch.
Difficulty level: Medium
How to:
- Start by braiding a french braid on one side of your head, near the temple.
- As you weave the braid, incorporate small sections of hair from the top into each new stitch.
- Instead of continuing to braid all the hair, leave out the last section you were about to incorporate and let it fall loose.
- Pick up a new section of hair slightly lower down from where you left off and continue braiding.
- Repeat this process, incorporating new sections of hair at the top and letting sections fall loose to create a waterfall effect.
- Continue braiding diagonally down your head until you reach the desired length or your ear. Secure the braid with a bobby pin.
- Repeat the waterfall braid on the other side for a symmetrical look.
- You can leave the hair loose at the end or tie it in a ribbon for a more polished look.
The Braided Headband with a Messy Bun
Ideal for: Festivals and beach days, adding a bohemian vibe.
Difficulty level: Medium-Advanced
How to:
- Start by french braiding a section of hair on one side, beginning near your temple.
- Continue braiding diagonally back towards your head, incorporating new sections of hair from the top as you go.
- Once the braid reaches your ear, continue braiding horizontally along the back of your head, incorporating hair from the top until you reach the other side.
- Secure the end of the braid with a bobby pin. Repeat the braiding process on the other side, creating a headband effect.
- Gather the remaining hair (including the loose ends of the braids) into a messy bun at the crown of your head. Secure it loosely with bobby pins.
- For a touch of texture, gently pull out some strands of hair around your face to frame your features.
The Bold Half-Up Dutch Braid with Highlights
Ideal for: Making a statement, adding dimension to colored hair.
Difficulty level: Medium-Advanced
How to:
Note: This style works best with pre-highlighted extensions that complement your natural hair color.
- Part your hair deeply on one side.
- On the side with more hair, begin Dutch braiding (reverse French braid) near the temple, incorporating colored extensions into the braid along the way.
- Continue braiding diagonally back towards your head, adding extensions throughout the braid for a highlighted effect.
- Once the braid reaches your ear, continue braiding down vertically until you reach the desired length. Secure the end with a bobby pin.
- Repeat the braiding process on the other side using your natural hair color.
- Bring both braids together at the back of your head and secure them with bobby pins.
These are just a few starting points to inspire your creativity. Once you’re comfortable with these DIY hairstyles, experiment and personalize them! Play with different braid patterns, add accessories like ribbons or flowers and incorporate colors that speak to your unique style.
Bonus Tip: For added volume and texture, consider using clip-in hair extensions with slight waves or curls. This will create a more natural and voluminous look, especially with DIY hairstyles like braids and buns.
Conclusion:
In conclusion, the versatility of hair extensions opens up a realm of possibilities for expressing your unique style and personality. Whether you’re aiming for a casual yet chic look or preparing for a special occasion, these DIY hairstyles showcase the transformative power of extensions. By following the tips and step-by-step instructions provided, you can confidently experiment with various techniques and unleash your inner hair goddess.
Remember, the key to mastering these styles lies in practice and creativity. Don’t be afraid to add your twist, experiment with different accessories, or tailor the looks to suit your preferences. With patience and determination, you’ll soon become a pro at crafting head-turning hairstyles that leave a lasting impression. So, embrace the beauty of extensions, let your imagination soar, and enjoy the journey of discovering your signature look with these fabulous DIY hairstyles.
